How to Change Shop Page in WooCommerce?
There are times when you may want to change your shop page in WooCommerce from default /shop/ page to a custom shop page. In this article, we will discuss the different ways you can change the shop page via the settings available on the WooCommerce plugin. You can also use a filter which you can add to your functions.php theme file.
We can all agree on one thing which is that filter is an incredible option for WordPress developer or WooCommerce theme developer who wants to make alterations to their URL without doing it on the settings. In this article, we will go through two options and decide the one that suits your WoodCommerce site.
Make some alterations to the Shop page in WooCommerce Settings
Discussed below are some of the steps one should follow when trying to change the shop page URL in your WordPress dashboard;
- The first thing you should do is log in to your WordPress dashboard.
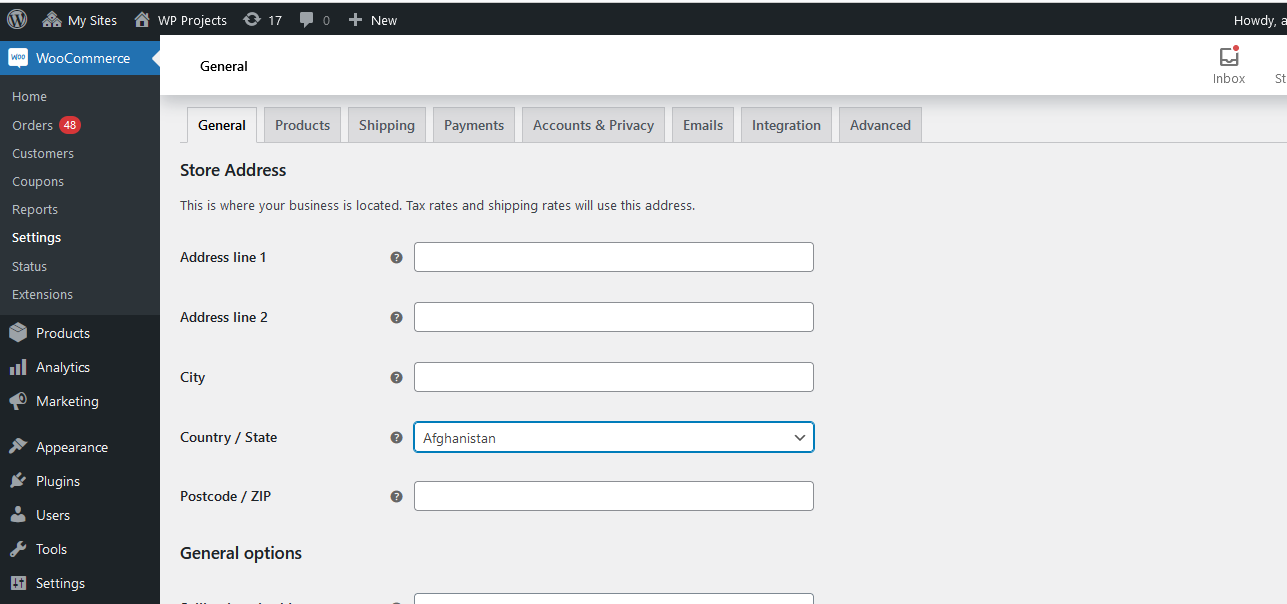
- Go ahead and navigate to the WooCommerce and proceed to the settings.
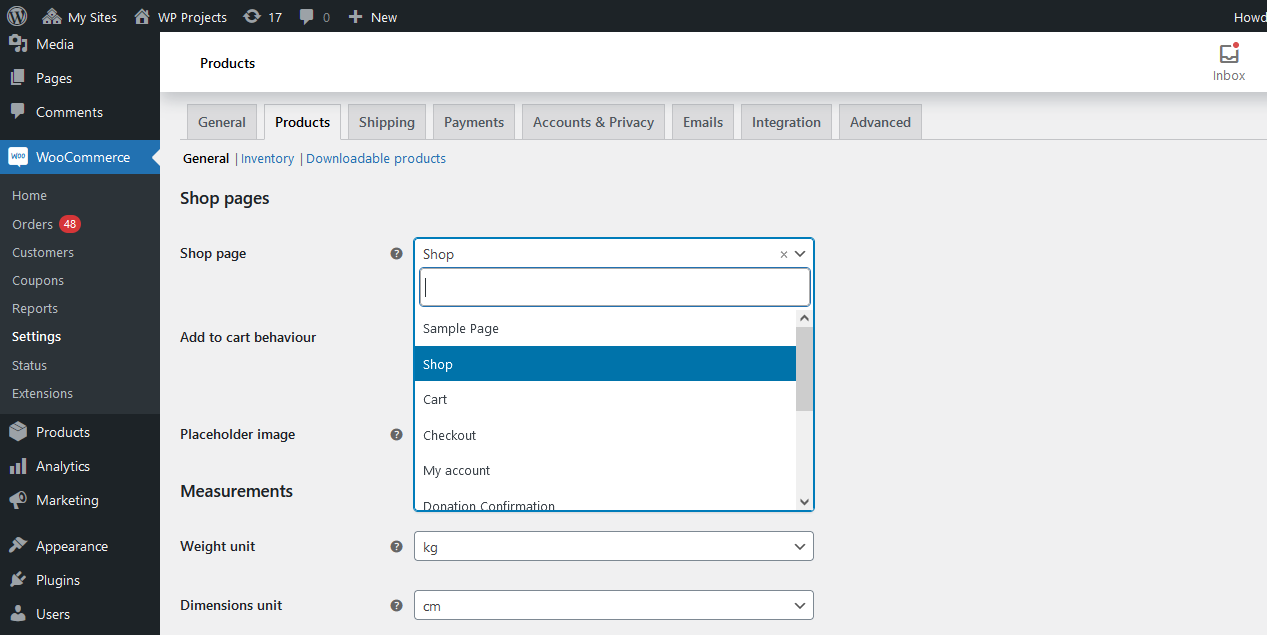
- Proceed and under WooCommerce settings, proceed and click on the Products Tab.
- Under the Products Tab, look for the shop page option.
- The next thing you need to do is select the new shop page that fits your requirement from the drop-down menu.
- The next thing you need to do is save the newly created settings using the save button that you’ll find right at the bottom of the page.
- After doing that, get back to the shop and confirm if the URL of the shop has been changed successfully.
Let us now have an in-depth review of each step and get to know how to go about every step.
Login in to your WordPress Dashboard
To begin with, you should log in to your WordPress dashboard. Make sure you are familiar with the left-side main menu.
WooCommerce Settings
You need to check out the WooCommerce menu. You will get it from the main menu right under the WooCommerce menu. Select the settings which are in the sub menus that dropdown.

After doing that, proceed and click on the settings menu and proceed to the page displaying all the General Setting.

Now click on Product Tab setting.

Select New WooCommerce Shop Page
So now we begin getting into the serious bits. Select the new page. You can do that from the drop-down and get to the page that displays the shop. Once you’ve done that, you need to save the settings. You can do that by visiting the front-end and confirming if the URL has been changed successfully.

Change WooCommerce Shop Page URL using a filter
At this point, you should be aware that you can successfully use a filter to comfortably redirect the user to the URL you would like to work with using the WooCommerce return to shop hook. The good thing about it is that you can create the filter hook. This filter hook is in the callback function and you can add the redirect to the exact page of your choice.
You can get a new code to replace the custom URL with the new URL for the shop to actualize the changes you’ve made. This is a must-have tip especially if you are dealing with a single product for your shop.
add_filter( 'woocommerce_return_to_shop_redirect', 'the_daily_woocommerce_shop_url' );
function the_daily_woocommerce_shop_url(){
return site_url() . '/product-category/sales/';
}
If you are interested in knowing the best way of changing the URL of your shop, you should avoid going down the line of changing permalinks as most users do. Being aware of what’s best to do, you should go ahead and use the WooCommerce settings page and comfortably change the URL of the shop. This will only take a few minutes of your time.
It is also worth noting that there are plugins that do offer the same services just like what WooCommerce offers. However, you will only enjoy these services if you subscribe and pay a premium fee. So we can all agree that WooCommerce helps you change the URL of the shop freely and that’s an incredible thing. In addition to that, if you happen to face a particular problem with it, you can get immediate help from their developers. They will ensure that you run everything smoothly.


